Here is the fly pattern sheet for the Hemingway Caddis.


Top view

Materials
Hook:
Daiichi 1180 or TMC 100, #12 – 20
Thread:
8/0 olive
Rib:
Small gold wire
Body:
Olive Superfine dubbing
Body hackle:
Medium dun hackle
Underwing:
Lemon Wood Duck
Wing:
Pair of Mallard wing quills
Thorax:
Peacock herl
Hackle:
Medium dun
Directions
- Begin thread on hook around the 50% mark.
- Tie in wire rib and wind thread back to hook barb.
- Apply dubbing to thread and wrap forward to create tapered body, covering 2/3 of hook.
- Tie in body hackle and wind back to barb with 5 – 6 turns. Spiral wire rib forward with 5 – 6 evenly spaced turns to tie down hackle. Trim hackle flush across the top of body.
- Select a wide section of Wood Duck feather and fold or roll into a clump and tie in over body. Length of wing should be equal to hook shank. Re-position wing to tie in point, allowing underwing to extend past end of hook.
- Select a right and left pair of Mallard Wings. Cut section from both wings a little less than gape of hook. Hold both wings as a tent over body and use two loose thread turns, then slowly pull UP with thread. Hold wings low and tight over body, allowing thread to snug down and secure both wings. Add additional thread wraps to tie down tightly. Trim butts and cover with even thread wraps.
- Tie in hackle.
- Tie in peacock and spiral forward. Tie off and trim excess.
- Wind hackle forward using 5 – 6 wraps. Tie off and trim excess.
- Create small head and whip finish.
Here are some step-by-step images of the tying process.
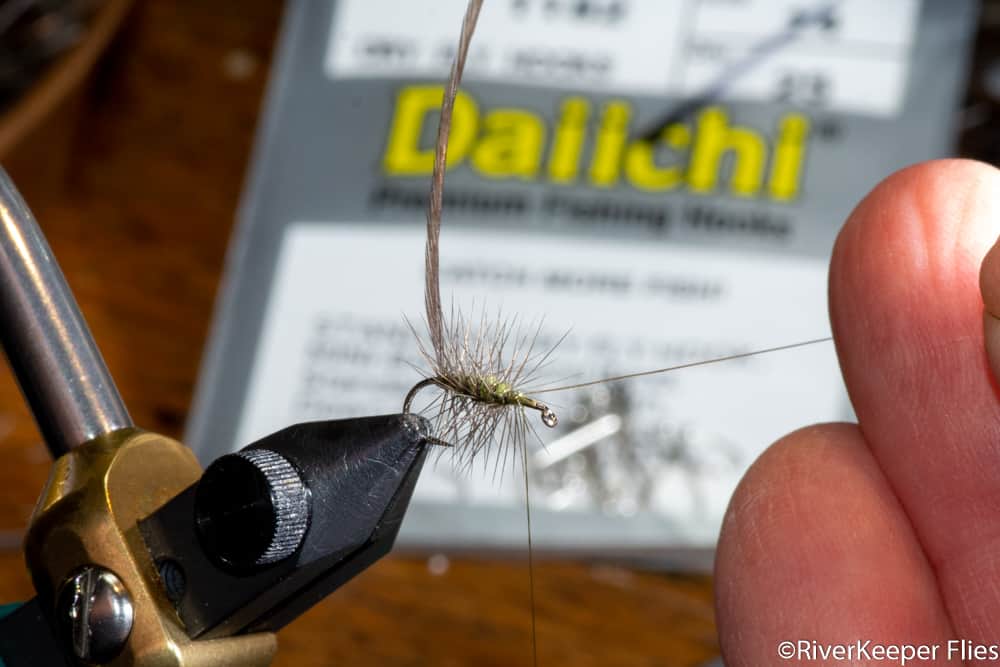
Body ties with hackle and counter-wrap rib in place.
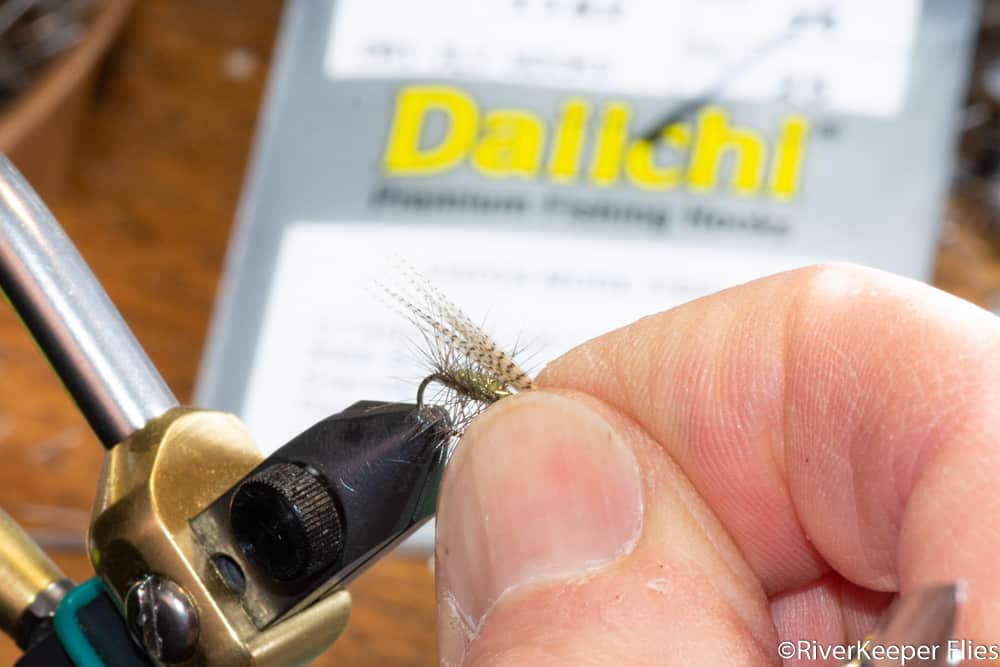
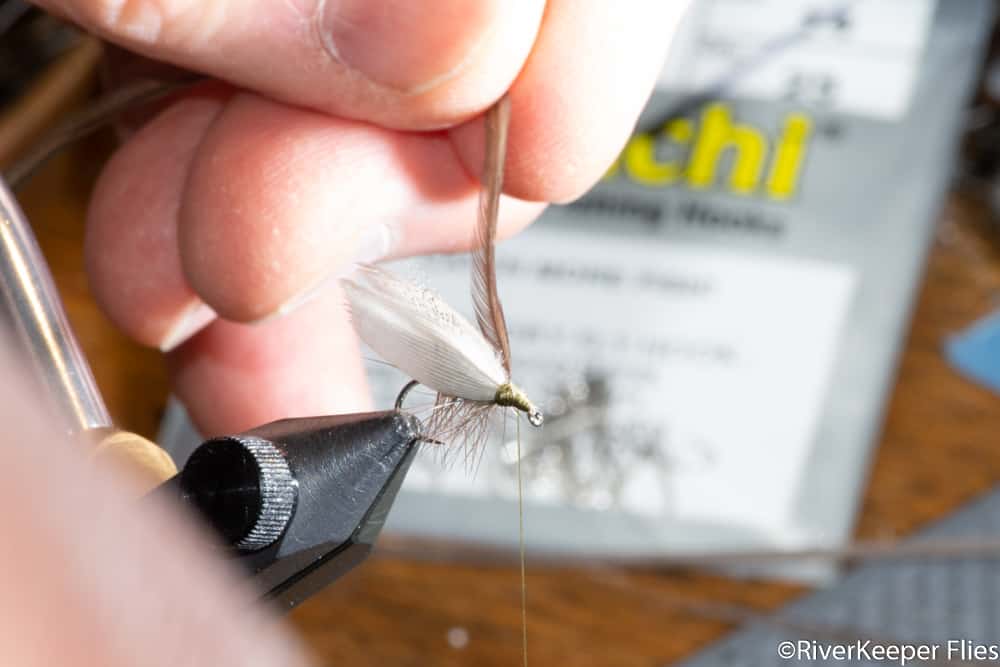
Positioning Wood Duck underwing over body.
Selecting Mallard quill wings.
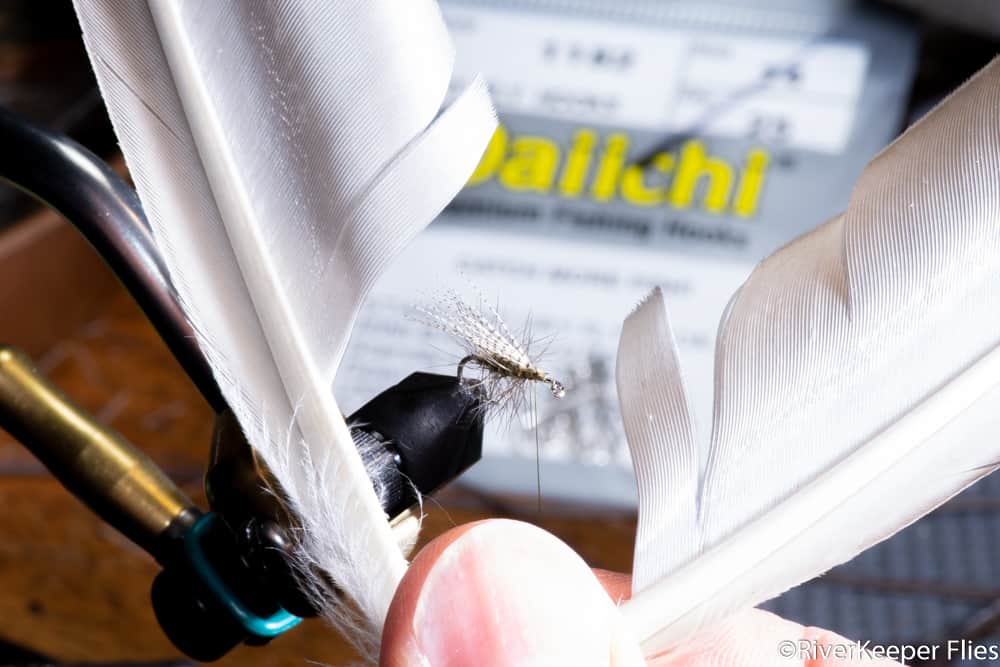
Aligning wings and positioning over body.

Ready for soft thread wraps around quill wings. Holding firmly very close to fly.

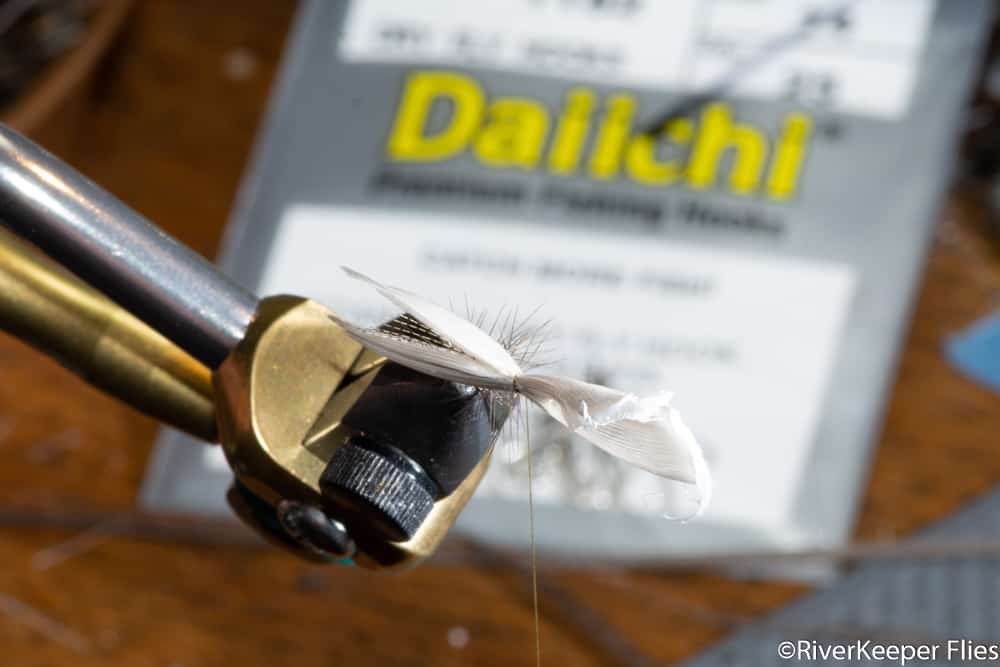
Wing secured on hook.

Checking wings are aligned directly on top of fly.
Attaching hackle.
Wrapping peacock herl for thorax.
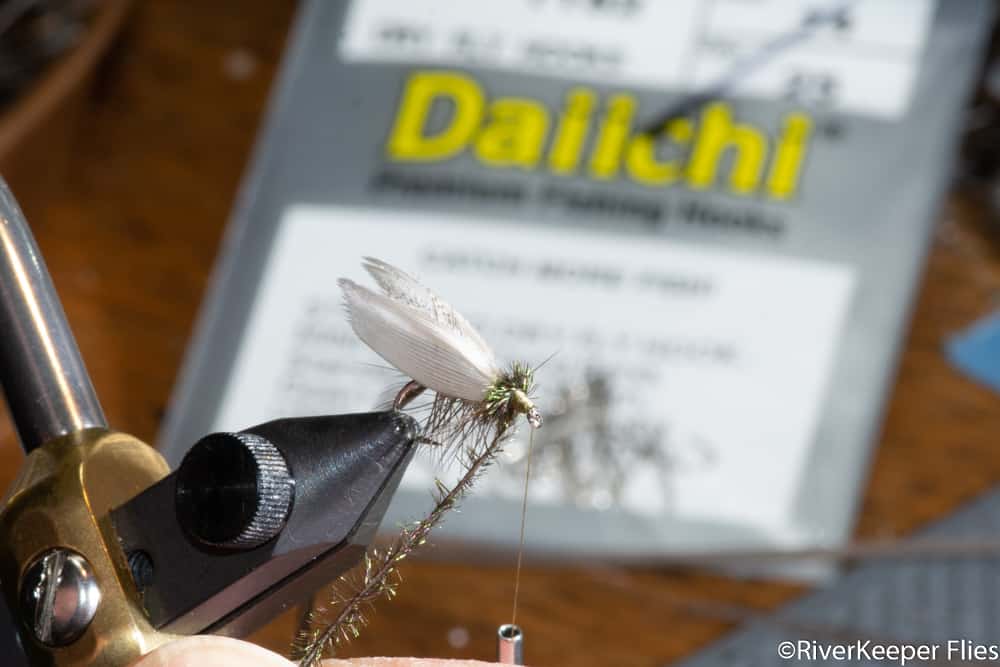
Wrapping hackle through peacock herl.

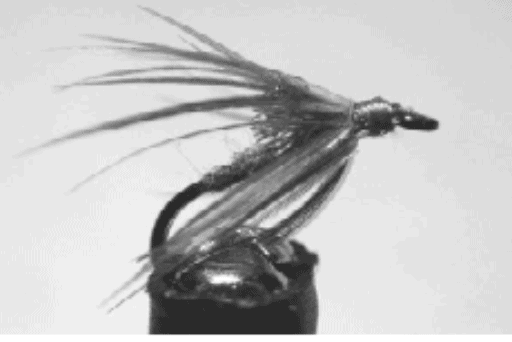
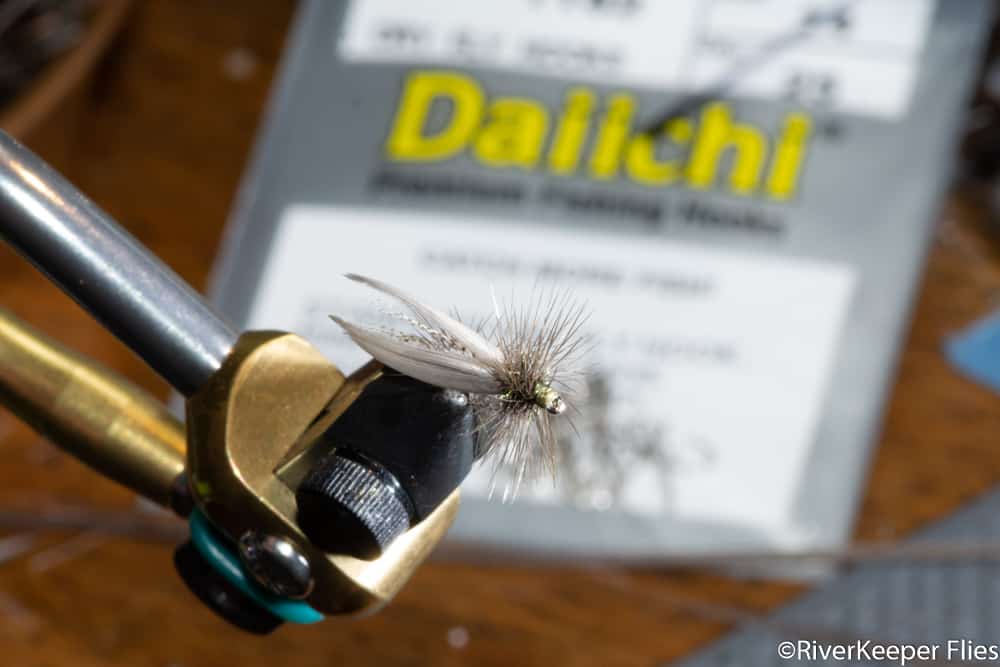
Finished fly.
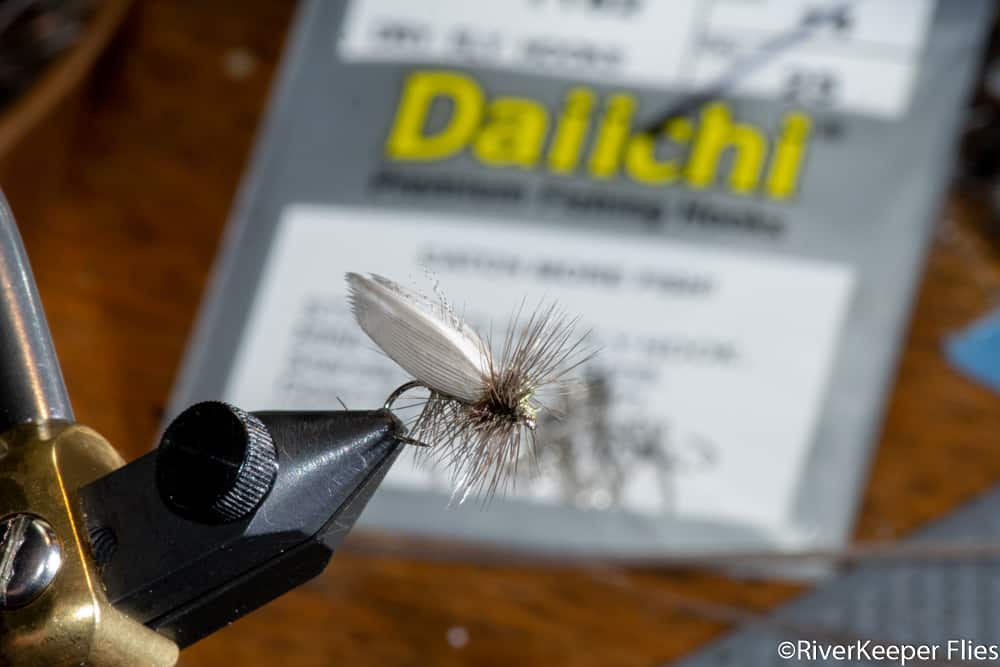
Finished fly – top view.
Note: For a history of the fly, check out the Throw Back Thursday Flies post – Hemingway Caddis.